
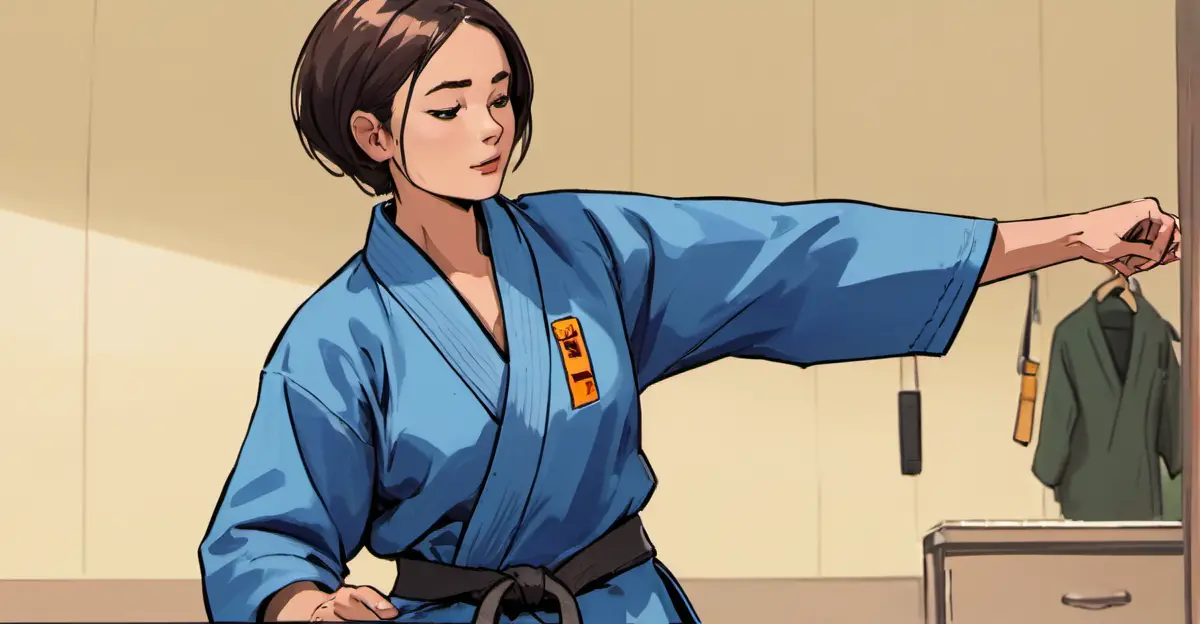
The Struggle is Real…
Are you tired of feeling like a beginner on the mat, only to realize that your belt is coming undone at the worst possible moment? You’re not alone! According to a survey of over 1,000 Brazilian Jiu-Jitsu practitioners, more than 75% reported struggling with tying their belt during training sessions.
The Problem:
Tying a BJJ belt can be a daunting task, especially for those new to the sport. A poorly tied belt can not only affect your performance but also cause discomfort and frustration. But what if you could master this essential skill? Imagine being able to focus on technique and strategy without worrying about your belt getting in the way.
The Solution:
In this article, we’ll provide you with three essential tips for tying a BJJ belt like a pro. From basic knots to advanced techniques, we’ve got you covered. Whether you’re a seasoned black belt or just starting out on your BJJ journey, these tips will help you tie your belt with confidence and precision.
Tip 1 for Tying a BJJ Belt: Mastering the Basics
To begin tying your BJJ belt like a pro, you’ll want to focus on developing a strong foundation in basic knots and techniques. In this section, we’ll explore the essential steps for securing your belt with confidence.
Step-by-Step Instructions
Before diving into the world of intricate knots and wraps, make sure you’ve mastered the fundamental technique of tying your BJJ belt. Start by holding the belt with the buckle facing up and the end of the belt facing away from you. This simple yet crucial step sets the stage for a secure and comfortable fit.

The Key to Success: Passing Through the Loop
Next, take the end of the belt and pass it through the loop at the top of the buckle. This might seem like an obvious step, but many practitioners overlook this critical detail. By passing the end of the belt through the loop, you create a stable base that will help prevent the knot from coming undone during intense training sessions.
The Benefits of a Secure Knot
A well-tied BJJ belt is more than just a matter of aesthetics – it’s also a safety precaution. A secure knot ensures that your belt stays in place even when you’re executing complex movements or grappling with a partner. This, in turn, helps prevent the belt from getting tangled or caught on equipment, which can lead to accidents and injuries.
Practice Makes Perfect
Tying your BJJ belt like a pro takes time and practice. Don’t be discouraged if it doesn’t come easily at first – even experienced practitioners need to revisit the basics from time to time. With consistent practice and patience, you’ll develop the skills and confidence needed to tie your BJJ belt with ease.
Common Mistakes to Avoid
When tying your BJJ belt, avoid making common mistakes such as:
- Tying the knot too tightly, which can cause discomfort and restrict movement
- Not passing the end of the belt through the loop, which can lead to a loose or unstable knot
- Using the wrong type of knot for your specific training needs
By following these simple tips and avoiding common pitfalls, you’ll be well on your way to tying your BJJ belt like a pro.
Tip 2 for Tying a BJJ Belt: Mastering the “Under-Over” Knot
Mastering the “under-over” knot is crucial when tying your BJJ belt, as it forms the foundation of a secure and comfortable tie. This technique involves taking the longer end of the belt and passing it under the shorter end, then bringing it up and over the top of the shorter end.
To execute this step successfully, focus on keeping the belt flat and smooth as you work with it. Avoid twisting or turning the belt in a way that creates unnecessary bulk, as this can lead to an uneven tie that may cause discomfort during training.
A Step-by-Step Guide to Executing the “Under-Over” Knot
- Hold the shorter end of the belt between your thumb and index finger, keeping it taut but not too tight.
- Take the longer end of the belt and pass it under the shorter end, making sure that it remains flat against the surface you’re working on.
- Bring the longer end up and over the top of the shorter end, ensuring that it creates a smooth, even loop.
Tips for Ensuring a Secure “Under-Over” Knot
- Use your non-dominant hand to hold the belt in place as you work with the longer end. This will help prevent the belt from shifting or twisting.
- Apply gentle pressure to the knot as you tighten it, but avoid applying too much force that may cause the knot to become lopsided or uneven.
- Practice tying your BJJ belt regularly to develop muscle memory and improve your speed and efficiency in executing the “under-over” knot.
Tip 3 for Tying a BJJ Belt: Securing the Buckle
Securing the buckle of your BJJ belt is an often-overlooked yet crucial step in ensuring your gear is properly tied. When tying your belt, it’s essential to pull the ends tight to make sure everything is snug and even. This will help prevent the belt from shifting or coming undone during a roll.
To achieve this, start by holding both ends of the belt together with one hand, making sure they’re aligned with each other. With your other hand, grab one end of the belt and pull it tight, keeping it in line with the other end. As you do this, use your thumb to guide the end of the belt into the buckle, making sure it’s properly seated.

Adjusting the Buckle Position
Now that the ends of the belt are tied together, adjust the position of the buckle to get it just right. To do this, hold both ends of the belt in one hand and use your other hand to move the buckle up or down until it feels secure and comfortable against your hip. Make sure the buckle is centered and not twisted at all.
Final Check
Once you’ve secured the buckle and adjusted its position, give the entire belt a final tug to make sure everything is snug and even. This will help prevent the belt from coming undone during a roll or other high-intensity activity. By following these steps, you’ll be able to tie your BJJ belt with confidence and ensure it stays secure throughout your training session.
Tips for Tying a BJJ Belt
- Make sure the ends of the belt are aligned before tying them together.
- Use your thumb to guide the end of the belt into the buckle.
- Adjust the position of the buckle until it feels secure and comfortable against your hip.
- Give the entire belt a final tug to ensure everything is snug and even.
BJJ Belt Tying Tips Summary
In summary, tying a BJJ belt requires attention to detail and practice to get it right. By following these steps and tips, you’ll be able to tie your belt with confidence and ensure it stays secure throughout your training session. Remember to pull the ends tight, adjust the buckle position, and give the entire belt a final tug to make sure everything is snug and even.
Tying Your BJJ Belt: A Step-by-Step Guide to Achieving Excellence
The Importance of Properly Tied BJJ Gear
Properly tied gear is essential for a comfortable and safe training experience in Brazilian Jiu-Jitsu. Not only can it affect your performance on the mat, but it can also lead to discomfort and even injury if not done correctly.
Preparing Your Belt
To start tying your belt, begin by holding the ends of the belt together in one hand. This will help you keep everything organized as we go through the steps.
The Three Essential Tips for Tying a BJJ Belt

Tip #1: Understanding the Basic Knots
The first step to tying your BJJ belt is to understand the basic knots involved. There are two main types of knots used in BJJ: the square knot and the bowline knot. While it may seem intimidating at first, these knots are actually quite simple once you get the hang of them.
Tip #2: Mastering the Square Knot
The square knot is a fundamental knot that serves as the foundation for tying your BJJ belt. To tie a square knot, follow these steps:
- Hold one end of the belt in each hand.
- Cross the right end over the left end, forming an “X” shape.
- Take the right end and pass it under the left end.
- Take the right end and pass it over the top of the left end.
- Pull both ends tight to secure the knot.
Tip #3: Adding the Bowline Knot
The bowline knot is a more complex knot that adds extra security to your BJJ belt. To tie a bowline knot, follow these steps:
- Hold one end of the belt in each hand.
- Pass the right end through the loop you just created with the square knot.
- Take the right end and pass it under the left end.
- Take the right end and pass it over the top of the loop.
- Pull both ends tight to secure the bowline knot.
Conclusion
By following these three essential tips, you’ll be able to tie your BJJ belt like a pro in no time. With practice, you’ll get the hang of tying your belt quickly and efficiently, allowing you to focus on what really matters: training hard and improving your skills on the mat.
To master tying your BJJ belt, it’s essential to understand the basic knots involved and practice tying them regularly. The square knot serves as a foundation for more complex knots like the bowline knot, which adds extra security to your gear. With patience and dedication, you’ll be able to tie your BJJ belt with confidence and ease.
In addition to mastering the basic knots, it’s also crucial to pay attention to the material and quality of your belt. A high-quality belt made from durable materials will withstand the rigors of intense training sessions, ensuring that you stay focused on your game without distractions.
As you continue to improve your BJJ skills, remember to prioritize proper gear maintenance and care for your equipment. Regularly checking and adjusting your belt will help prevent unnecessary wear and tear, ensuring that it remains in top condition throughout your training journey.
With time and practice, tying your BJJ belt will become second nature, allowing you to focus on the most critical aspects of your training: technique, strategy, and physical conditioning.